Introduction
OpenBLT is an open-source project. It can be used with multiple microcontrollers and protocols. This project can be ported to 8-bit, 16-bit, and 32-bit architectures and brands (such as NxP, Texas Instruments, and ST Microsystems). It supports communication interfaces such as RS-232, CAN, USB, TCP/IP, and Modbus RTU with PC software for initiating and monitoring firmware updates. Additionally, add-on modules can be used for features like firmware encryption, improved checksum mechanisms, and master/slave gateways. Finally, it is open source, and you can choose between a GNU GPL license or a commercial license if needed.
First steps
The documentation states that for the OpenBLT project on the Nucleo-F446RE board, only Modbus is available for use. To begin working on this project, I tested the demo and used it to flash an example provided by STMicroelectronics.
-
Download the sources from GitHub or tarball from SourceForge, I used GitHub sources (commit ba955f2c3b46bae54b6c08637792426be34d29c6) and taked only the resourses related to Nucleo-F446RE board,
- Configure sources in STM32Cube IDE
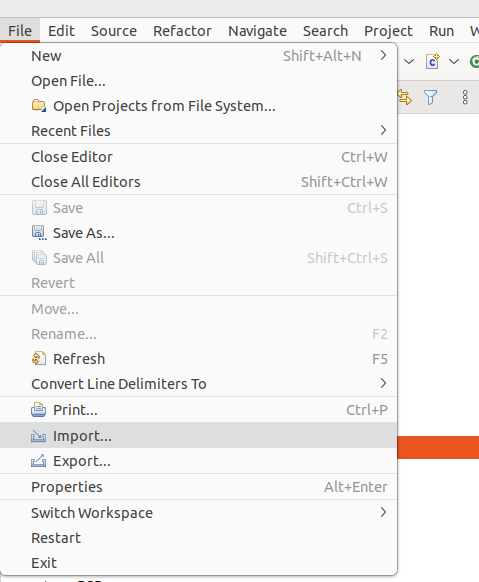
- Open the File menu and select Import option.
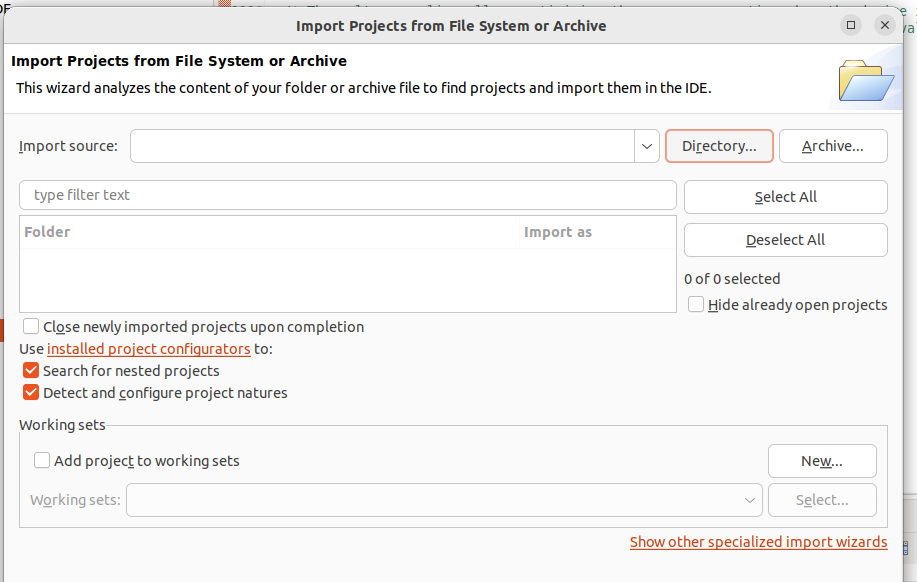
- Import the boot folder. You can also import Prog demo. In this example, we will import both folders.
- Compile the Boot folder to create the bootloader binaries.
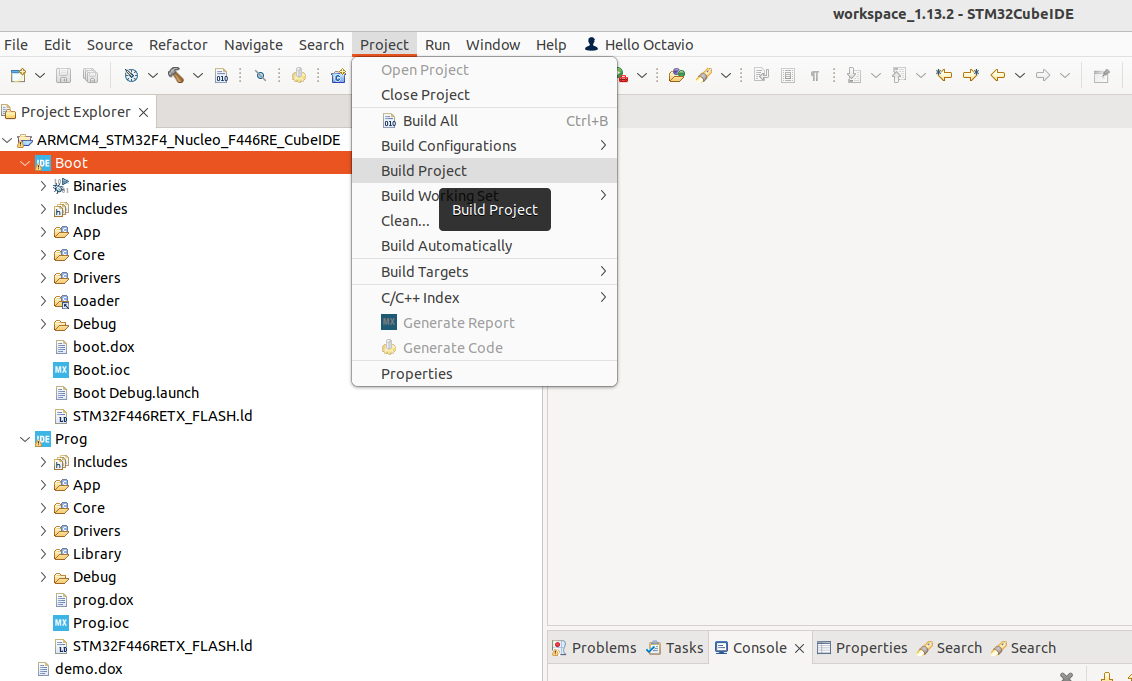
- After compiling, flash it to the board. When it is working, the green LED blinks.
- Open the File menu and select Import option.
- Test the software with a demo, I used the GPIO_IOToggle example from STM resources. A little tutorial to get it is stored in mi Github Repository.
- You need to make a couple of changes in the source to run the system without issues. The bootloader will be stored in the first part of flash memory. Following OpenBLT documentation, an offset should be defined for our application. In this example, we will change VECT_TAB_OFFSET macro inside file system_stm32f4xx.c with the corresponding offset of “0x4000”.
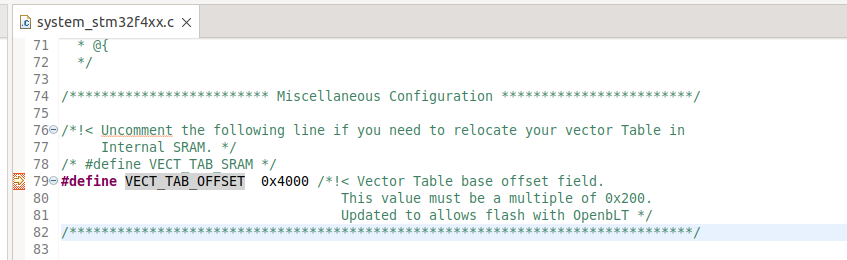
- You need to make a couple of changes in the source to run the system without issues. The bootloader will be stored in the first part of flash memory. Following OpenBLT documentation, an offset should be defined for our application. In this example, we will change VECT_TAB_OFFSET macro inside file system_stm32f4xx.c with the corresponding offset of “0x4000”.
-
Once the srec file is done, you can flash the system with one of the tools provided by Feaser. I prefer Bootcommander because it runs on Linux. You can check Feaser documentation about their tools: MicroBoot or BootCommander.
-
The last part of this article explains the procedure to build and use BootCommander tool.
Note: The default usart port to use the bootloader is a “virtual port” mounted with the STlink usb port. In linux this port is /dev/ttyACM0.
The command to use bootcommander is:
./BootCommander -s=xcp -t=xcp_mbrtu -d=/dev/ttyACM0 -b=57600 ~/STM32CubeIDE/workspace_1.13.2/GPIO_IOToggle/STM32CubeIDE/Debug/GPIO_IOToggle.srec